Injector and fuel rail fuel line service February 2019
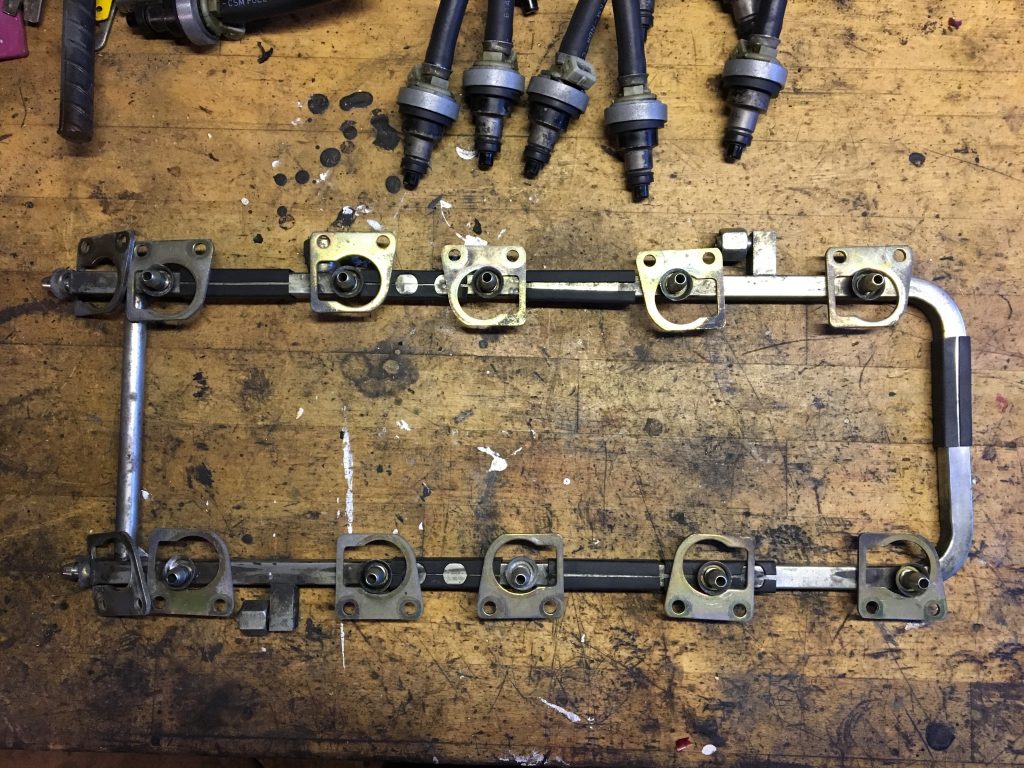
The engine and thereby also injection system on my XJ-S is from an 1989 XJ12. That means the engine is an HE with the U-shaped square profil fuel rail.
The project started with a lot of shopping.
I decided to buy a nozzle tester with ultrasonic cleaner on eBay, as the price was less than 50% of the cost of sending the injectors to professionel service in Denmark !
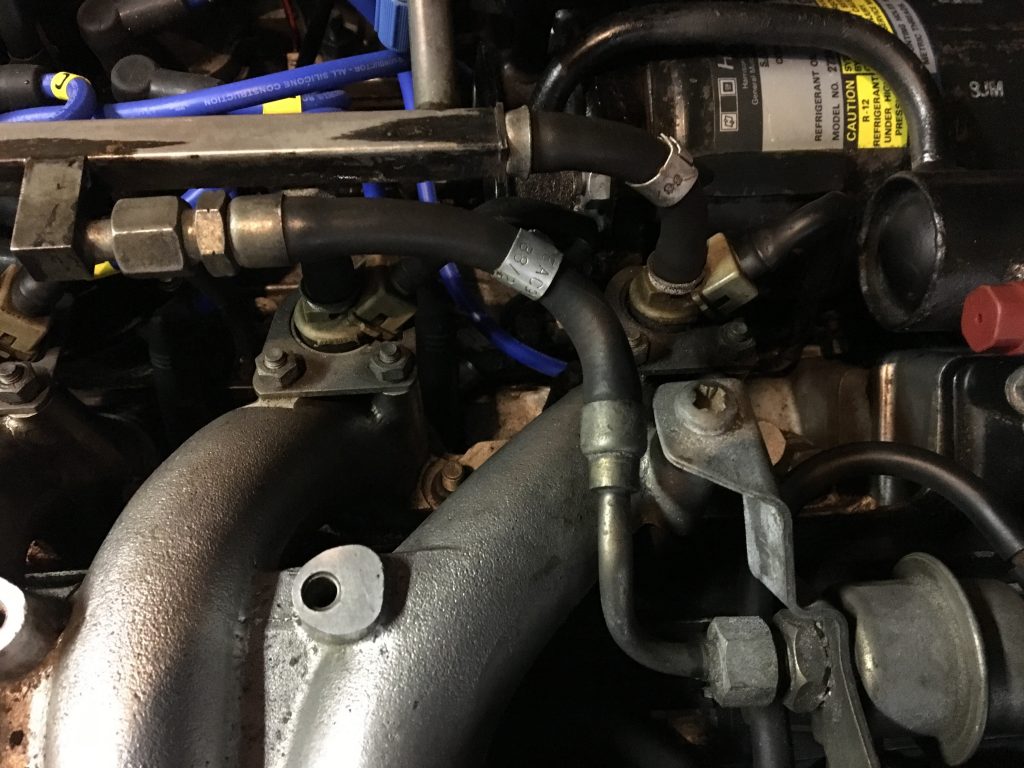
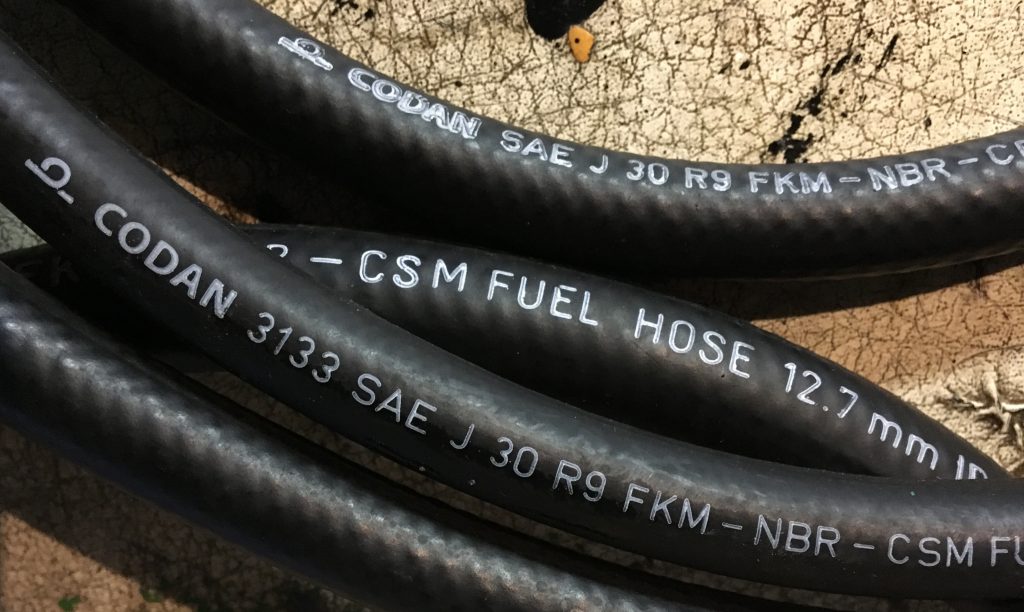
Petrol hoses for modern gasoline and injection pressure (Codan 3133, SAE J30 R9) were ordered from www.slangespecialisten.dk in size 5/16”
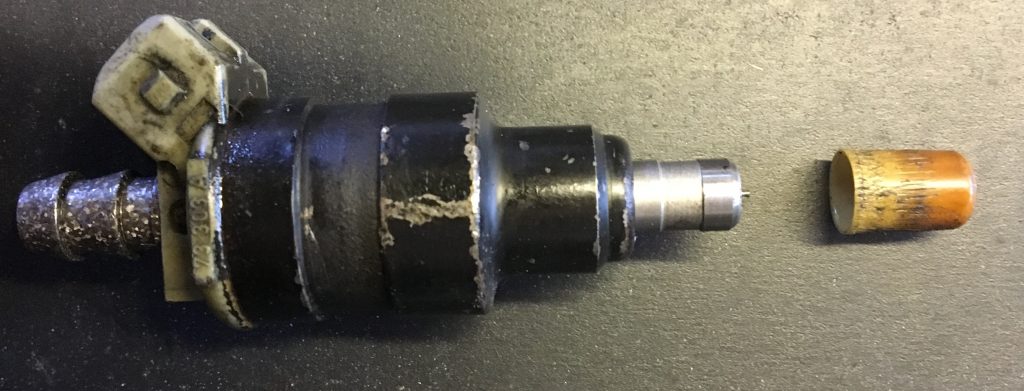
For the injection nozzles, I ordered new filters, o-rings and pintle caps from Jonas Loda (member of XJ-S groups on Facebook). The reason for changing the filters is obvious. New o-rings will reduce opening noise transmission. I’m not sure about why pintle caps are changed, but it seems to be good practice to do, so I did it !
I decided to change my injection harness as well. It sits exposed to heat at the bottom of the V, and mine has become as stiff as raw spaghetti. I found a guy, that offered to make a harness for others while he was doing his own. Silicone hi-temp wiring and braided sleeving was used, so it’s both good looking and able to survive in the hot valley of the 12.
Removing the fuel rail from the engine is quite basic, it’s just a lot of nuts that needs to be removed. Before doing that you want the fuel pressure to be zero. In most cars it will drop after standing still for some hours, but be prepared to handle squirting fuel if the engine has been started recently.
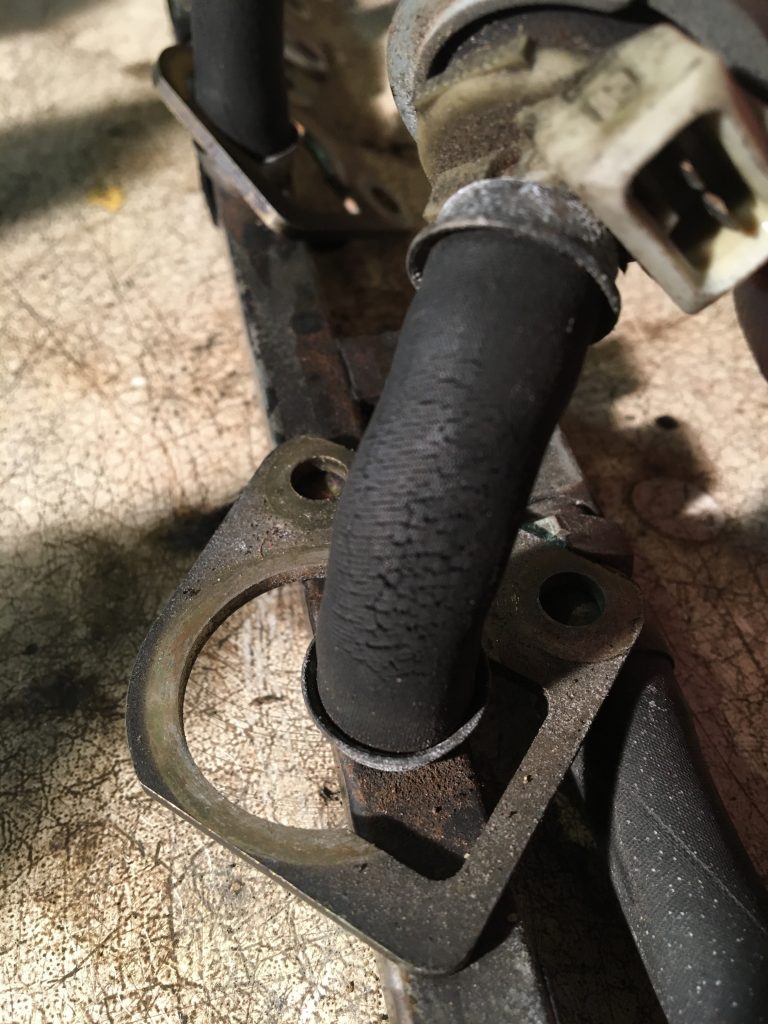
The fuel hoses are originally just pushed onto the barbed studs on the fuel rail and injectors, no clamping is used. If you intend to maintain the original look, you need to be careful during removal of the old hoses not to damage the barbs on the connectors, as this most likely will cause leaks.
It’s strongly advised NOT to use clamps on damaged barbs without sanding barbs until they are dull, as the combination of sharp barbs and clamps gives a risk of cutting the hose from inside, and that will most likely cause an engine fire.
My old hoses turned out to be both cracked and fragile, but they were still very hard to remove. I got them removed without damaging barbs, so I could plan on reassembly with hoses pushed on, as original. I later read that removal of the hoses goes quite easy using a hot solder iron.
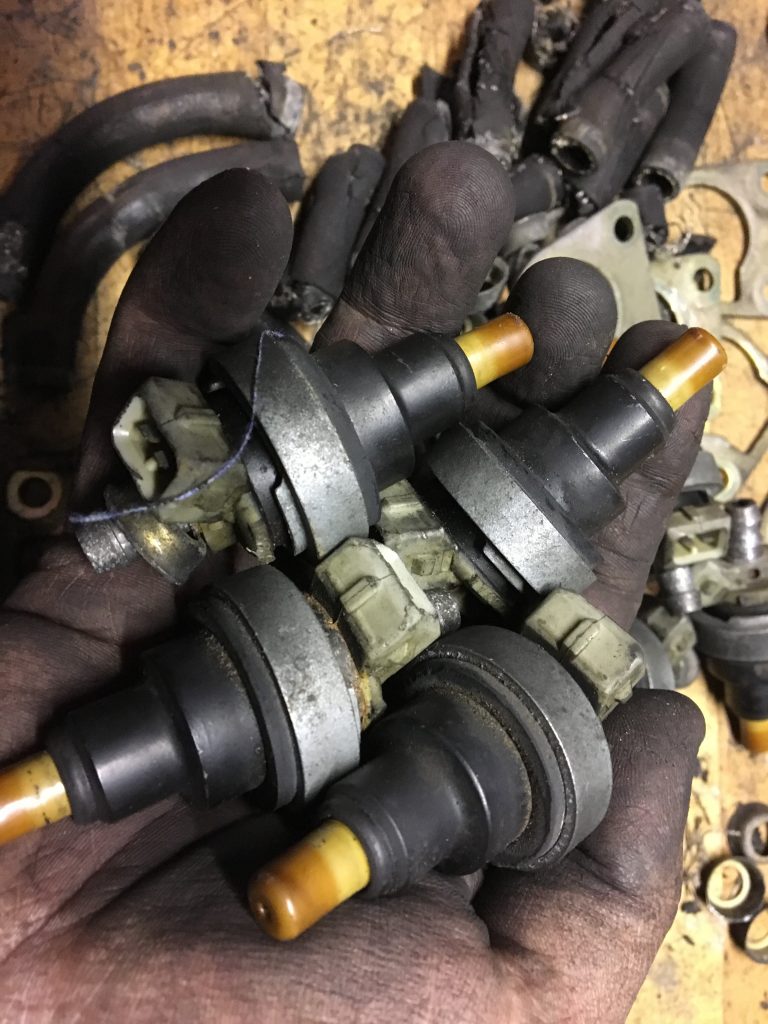
The injectors were cleaned, tightness checked and the flow measured. Low flowing injectors was cleaned several times until results were satisfying.
The pintle caps are just pressed onto the end of the nozzle. The trick to getting them off is light heating with for example a small gas torch, and heat also makes the new ones easier to push on.
The filters are a press fit into the injector inlet. I found that a 5mm diameter wood screw was perfect for pulling the filter out. Screw the injector with filter onto the screw, wiggle and pull slightly and then they come out. The mounting is simple, just press them in.
Finally I soldered the new wiring harness in as it came without connector.
Assembly is, as most people already know from the Haynes manuals, reverse of disassembly. You will have to focus though, as the injector holding brackets are orientated oppositely on some injectors. The hoses on inlet and outlet line to the fuel rail was also changed, meaning that all engine bay fuel line now is new and high spec.
At this point it was pretty exciting if the engine would start, because I had messed with many things.
The engine started, there were no leaks, but it wasn’t running on all 12: My mechanic’s stethoscope detected that nozzle 1B did not click and thus did not open.
I measured on the wiring harness that there was a connection between connectors 1B, 3B and 5B. They are connected in parallel. The same applies in the A-series and for 2-4-6, so there are 4 groups of 3 nozzles. The solution ended up finding a good used injector and get it cleaned and fitted.
Youtube video of fuel hose push on (inlet line)